


Materials and tools: Paper for pastels: gray, white, red, curly punchers, scissors, stone path, glue stick, glue “Titan”, stick, stamp “Handmade” ribbon.


To one side I am using embossed paper …

Corners of all backgrounds knocking shaped angular punch …
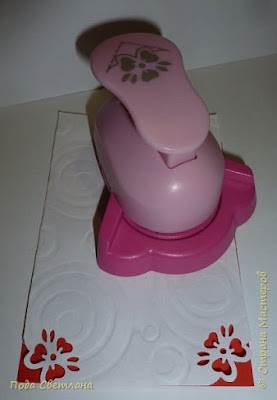
Figure I reinforce with colored paper on the back side of red and pink pasting pieces – triangles …

One of the hearts of the rolling embossing …

And cut into two parts …

Here it will look like one half … with embossed flowers and voluminous in shape … and one opposite side background with embossed …

Matches the color of the second heart …

Draws up second heart … mesh strips are glued in one direction …

Overlapping both mesh and trim the edges … Color had to raise … This version was better …

Templates … cut …

Decorate with voluminous flowers … midway gold contour

This heart inside … repeat pattern but without volume …

One side is open and the other closed … I want to show the whole heart …

Perhaps it is better to be seen … The other side …

Open with the other hand …

Open the card … A place for congratulations from both sides …

The turn card
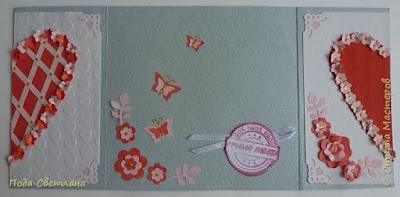
The downside reversal …

Backdrop … Not very stamped seal … had to come up with something … that is …the front of the three-dimensional flowers …
The idea of postcards presented to graduates …. make a postcard …
The photo did not comply with all the punches on the card …. already handed punches …
courtesy: stranamasterov.ru
How to make card for lover
By crazzy craft

You will need: 5 pipe cleaners (3 regular and 2 glittering), hot glue gun, scissors, a bbq stick, beads, foam paper, letter sticks. Optional: hole punch and a ribbon.
It kind of looks like a
Download video
Quick Valentine’s craft: Pipe Cleaner Heart card
By crazzy craft


Give cards are always nice, especially if the card is made with their own hands.And now I want to show you one of the options to make a nice spring card quilling technique in a couple of hours
You will need:
- Paper;
- Paper strips of 0.5 cm;
- PVA glue;
- Cardboard;
- Scissors, ruler, pencil.
Let's start with the daisies. To do this, cut a strip of paper the height of 3.5 cm (for daisies smaller - 2.5 cm).
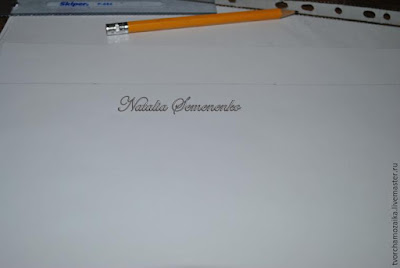
Let's start with the daisies. To do this, cut a strip of paper the height of 3.5 cm (for daisies smaller - 2.5 cm).

Fold the strip in several layers and paint the petals of our daisy:

cut

For the midway cut out a strip of 1 cm in height.


Finely cut one side of the strip not dorezaya through.
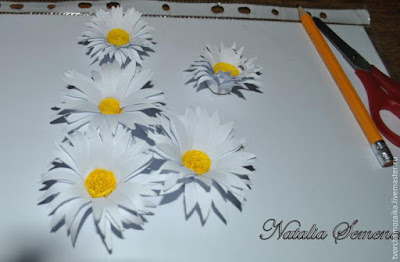
And we begin to collect daisy:


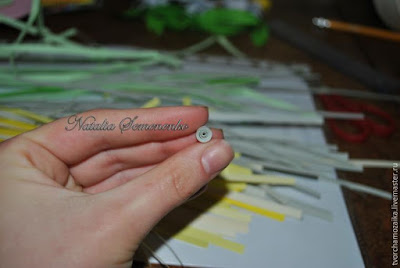

Now cut out the leaves (I cut them in the eye).


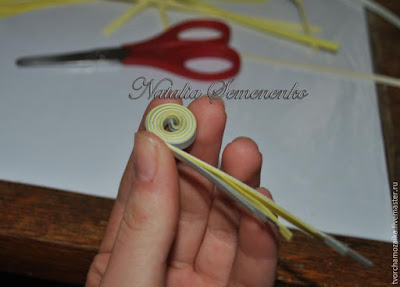


This element is made as well as the camomile midway, only the height was more strips (2 cm)

Put a few strips of paper in half and glue the ends, you get this:


It remains only to collect all the elements together. The background is a red cardboard. First, the first layer of cells sticking cards:

courtesy:
How to make spring postcard from quilling
By crazzy craft
Subscribe to:
Posts (Atom)